A pond that loses water can turn a peaceful backyard retreat into a daily worry. Before you repair pond liner material, though, you need to know whether the liner is truly the problem. A small leak may be hiding beneath gravel, behind a waterfall, or at a plumbing connection. Patch the wrong area and the water level will keep dropping, while the real issue remains unseen.
For a pond built to be a living masterpiece, leak repair should be precise rather than rushed. The goal is not simply to hold water for a few weeks. It is to restore the pond’s long-term performance while protecting fish, plants, stonework, and the natural beauty you worked hard to create.
First, Confirm That You Have a Leak
Water loss is not always a liner failure. In the Bay Area, warm weather, wind, splashing, and a running waterfall can create noticeable evaporation. A pond with an exposed stream or large cascade can lose even more water during hot, dry conditions.
A practical test starts by turning off the pump and marking the pond’s water level. Leave the system off for 24 hours, then compare the water loss. If the water level stabilizes with the pump off, the issue is often in the waterfall, stream, external plumbing, or filter system rather than the pond basin. If the water continues to fall, the leak is more likely in the pond itself.
Keep an eye on the level where the water stops dropping. That height offers a valuable clue. The opening may be near the final water line, around a skimmer faceplate, at a bottom drain fitting, or in a fold of liner concealed by rock and gravel.
Find the Source Before You Repair Pond Liner Material
Locating a liner leak is usually the most time-consuming part of the repair. Naturalistic ponds are layered systems, with boulders, edging stone, aquatic plant shelves, underlayment, plumbing penetrations, and flexible liner all working together. The leak can be caused by a puncture, but it can also come from water escaping over an edge.
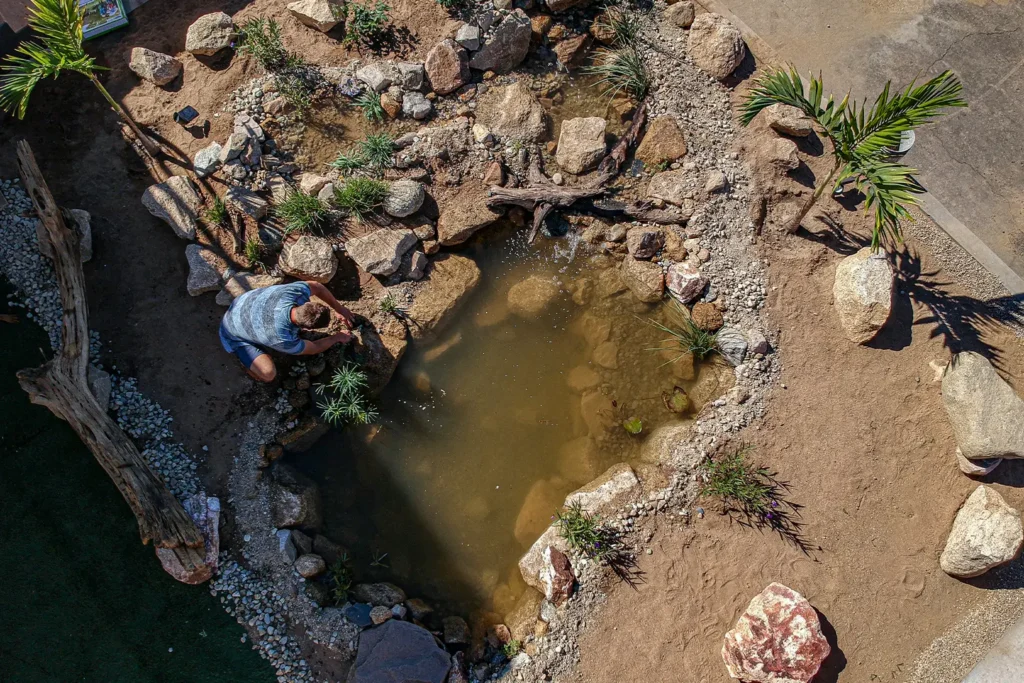
Start with the simplest inspection. Walk the entire pond perimeter and look for damp soil, unusually lush patches of grass, displaced gravel, or wet areas beneath edge stones. Check whether a liner edge has settled below the water level. This is especially common after ground movement, heavy rain, or an animal disturbing the perimeter. Water follows the easiest route, and even a low spot in the liner can quietly wick water into the surrounding landscape.
Next, inspect the waterfall and stream. Water may be splashing beyond the liner, running behind a waterfall rock, or escaping where the stream liner meets the pond. A small shift in a stone can redirect a surprising amount of water. In some cases, debris causes water to bypass its intended path and spill behind the feature.
If the pond continues to lose water with the pump off, allow it to drop naturally until it stabilizes. Do not drain the pond immediately. The stopping point often narrows the search considerably. At that elevation, carefully inspect exposed folds, seams, penetrations, and areas where roots, sharp stone, or settling may have stressed the liner.
Choosing the Right Repair Method
The correct repair depends on the liner material, the size and location of the damage, and what caused it. EPDM rubber liner is common in quality pond construction because it remains flexible and durable over time. It can often be repaired successfully with a manufacturer-compatible primer and patch system. PVC and other liner materials require their own compatible adhesives or repair products.
Avoid treating every leak with a generic sealant. Many household caulks and adhesives do not bond reliably underwater, may fail as the liner flexes, or are not appropriate for fish and aquatic life. A patch may look secure at first, then lift at the edges once the pond refills and water pressure returns.
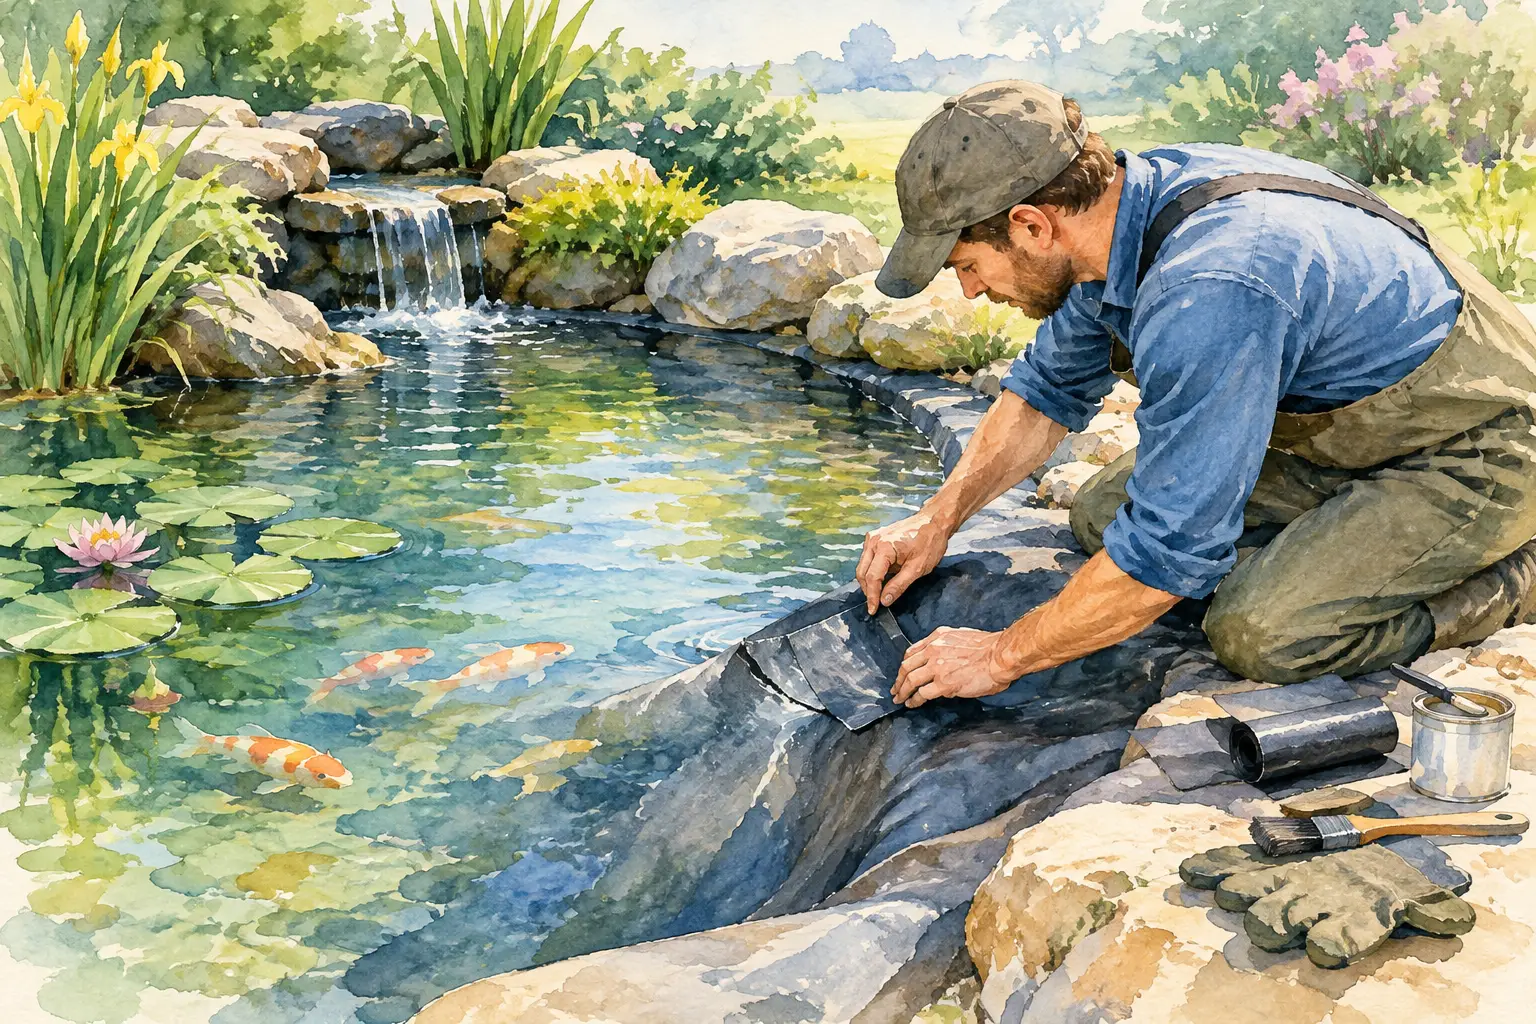
For a small puncture in accessible EPDM liner, a proper repair typically involves cleaning the liner thoroughly, drying the repair area, applying the recommended primer, and pressing on a generously sized patch. The patch should extend well beyond the damaged area on every side. Rounded patch corners are less likely to peel than sharp corners.
The surrounding liner matters as much as the hole itself. If a rock has punctured the liner, remove or reposition the source of pressure and inspect the underlayment beneath it. If roots caused the damage, the repair should include a plan to prevent further intrusion. Simply covering the puncture without solving the underlying cause invites another leak.
When a Patch Is Not Enough
A patch is not always the right answer. Aging liners can become brittle, cracked, or weakened across a large area. Multiple old patches, recurring leaks in the same zone, failed seams, or damage around a skimmer and bottom drain may call for a more substantial repair.
It may be necessary to reset edge treatments, rebuild part of a stream, replace a compromised plumbing fitting, or install a larger liner section. These repairs require care because the visible stonework is part of the pond’s structure, not just decoration. Removing boulders without a plan can alter water flow, create new pressure points, or disturb the natural composition that makes the feature feel at home in the landscape.
Protect Fish, Plants, and Water Quality During Repairs
If fish live in the pond, plan the repair around their safety. A minor patch may be completed with the fish temporarily held in another container using pond water and aeration. Larger repairs can require a more deliberate holding setup, especially during warm weather when oxygen levels can decline quickly.
Keep debris, adhesives, soil, and untreated tap water out of the pond. Any rocks or gravel removed during the work should be handled carefully so accumulated organic material does not suddenly cloud the water or overload the filtration system when it is returned.
After the repair has cured according to the product instructions, refill the pond gradually and observe the water level before returning the system to normal operation. Once the pump is running, inspect the waterfall, stream, and plumbing again. A successful basin repair does not help if water is still leaving the system somewhere above the pond.
Why Leak Repairs Often Fail the First Time
Most failed repairs come down to diagnosis or preparation. The patch may have been placed over the wrong suspected leak, installed on a damp or dirty liner, or applied with incompatible materials. In other cases, the pond was repaired without correcting a low liner edge, sharp rock, root issue, or plumbing problem that caused the water loss.
There is also a difference between stopping a leak and restoring a well-built water feature. A natural pond has moving water, living plants, changing weather, and structural stone. Its repair needs to account for all of those elements. That is why complex ponds, large waterfalls, aging systems, and fish ponds with hard-to-find water loss often benefit from experienced hands.
At Aquascape Creations, we approach leak diagnosis with the same care we bring to building water environments. The best repair preserves the character of the pond while addressing what is happening beneath the surface, from liner and underlayment to plumbing, rock placement, and water flow.
Preventing the Next Leak
A few attentive habits can help protect a liner for years. Keep edge treatments secure, watch for changes in water flow after storms, trim aggressive roots near the pond, and inspect the waterfall whenever you notice unusual water loss. During routine maintenance, check skimmer connections, liner folds, and areas where rocks meet the pond edge.
A pond should feel like a natural sanctuary, not another item on a repair list. When water loss appears, resist the urge to patch first and investigate later. A patient diagnosis and a properly matched repair can return your pond to the quiet, lasting enjoyment it was meant to provide.