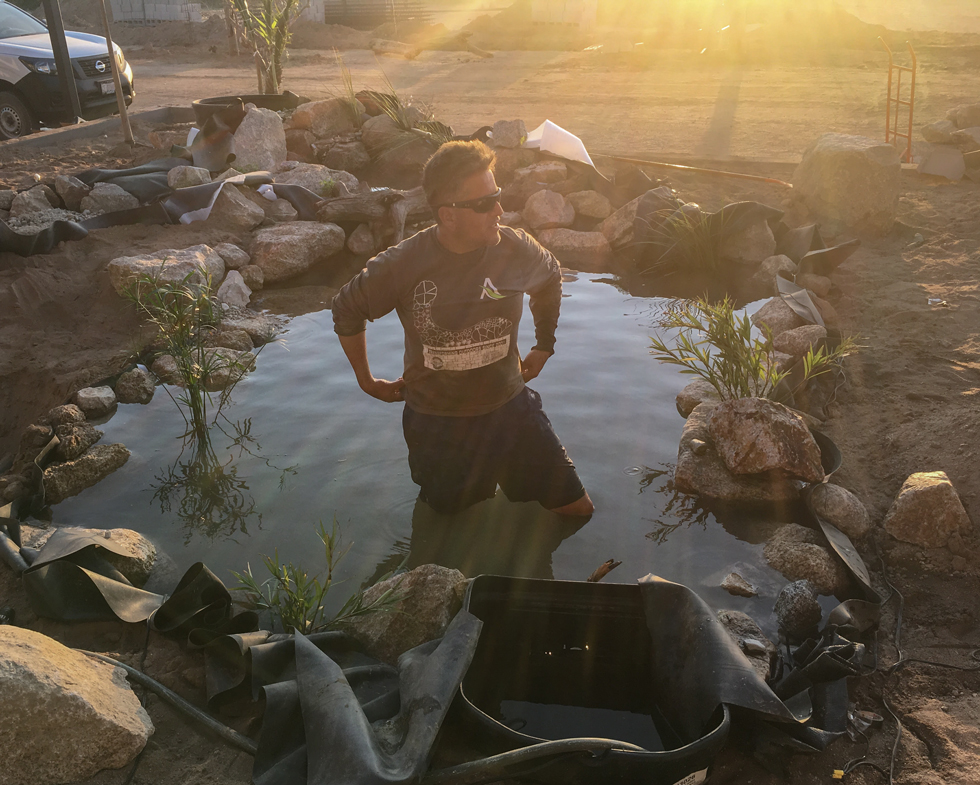
at Aquascape Creations It’s the call we get most often: “My pond is leaking! I’m losing water!”
For our clients with a beautiful koi pond, this news is often met with immediate panic. They know the risks their beloved fish are in. If it’s a pondless waterfall, it’s a little less troublesome, as they can simply turn the system off and wait for a repair.
But no matter the type of water feature, our first message to you is: Don’t panic! Our main goal is to help you find the issue fast or provide a temporary remedy to keep your aquatic friends safe.
Step 1: Secure Your Fish and Stop the Loss
If you have fish, your immediate priority is oxygen. When you turn off your waterfall—which is the first step in leak detection—you also stop the primary source of oxygen for your fish.
Here’s what to do:
- Turn off your waterfall/stream pump.
- Add supplemental oxygen. You can do this by adding a dedicated aerator or, as a temporary fix, disconnect your existing pump, place it on a shelf or the bottom of the pond, and let it pump water up so it falls back into the pond, creating the much-needed oxygenation.
Step 2: Pinpoint the Leak Location
The process of finding a leak can take multiple steps, depending on the size and complexity of your water feature.
The Most Common Culprits
Based on our experience, here are the most frequent reasons for water loss:
- A Low Edge (The #1 Reason): Over time, due to foot traffic, erosion, and natural settlement, the liner around your stream can drop, creating a “low edge” where water flows out over the top instead of staying in the channel. This is often an easy fix.
- Clogged Edges: Accumulated debris, leaves, or plants can act like a dam, diverting water out and over the liner edge.
- Failed Faceplate Seals:
- On a biofalls filter, the faceplate where the water spills out can fail, allowing water to escape behind the liner.
- In the pond, a failed faceplate on the skimmer is a very common source of leaks.
- A Hole in the Liner: A small tear or puncture in the pond or stream liner.
The Concrete Problem (A Worst-Case Scenario)
If your pond or stream was built by placing concrete on top of the liner, it becomes much harder to deal with. While not impossible to repair, you need to be prepared for the worst-case scenario: a potential need to rebuild the entire pond or stream section to find the breach.
Step 3: Initial Detective Work (Manual Checks)
Before you begin the formal water-drop test, perform these quick checks:
The Bucket Test (To Rule Out Evaporation)
While measuring water loss over several days will inherently rule out evaporation, the bucket test is a simple, precise way to confirm if the loss is truly a leak.
- How it Works: Place a weighted bucket filled with pond water near the edge of the pond. Mark the water level inside and outside the bucket.
- The Check: After 24 hours, compare the water drop:
- If the drop is the same: The loss is due to natural evaporation and splash (which affects both the pond and the bucket).
- If the pond drop is significantly greater: You definitely have a leak and should proceed with the isolation steps.
Soil Probing and Visual Inspection
You already know to look for a low edge, but professionals also look for signs in the surrounding soil and system.
- Soil Probing: For leaks suspected in the buried pipework or around the base of the biofalls, a long soil test probe can be pushed down into the soil along the pipe run or around the structure.
- The Sign: If the soil sample pulled out is muddy or saturated (especially when the surrounding ground is dry), it indicates that water is leaking from the pond system at that spot and collecting beneath the liner or near the plumbing.
- Animal Damage: Perform a careful visual inspection around the perimeter of the pond. Look for signs of animal activity (like moles, voles, or muskrats) tunneling beneath the liner, which can cause punctures or displacement.
Step 4: The Water Drop Test (The Isolation Method)
If the manual checks don’t reveal the culprit, you need to track how quickly and at what level your water is dropping by isolating sections of the system.
- Mark Your Starting Level: After turning off your stream/waterfall, mark the water level against a stationary object, like the skimmer door or a rock. DO NOT use the water mark on the surrounding rocks—most materials wick water, and that visual mark is not the true water level.
- Measure the Loss: Wait 24 hours and measure the water loss. Put another mark and wait another 24 hours.
- Identify a Leak: If you are losing more than 1/4“ (a quarter-inch) on a hot day, you most likely have a leak. Repeat this 24-hour cycle until you notice the water level stops dropping.
- Analyze the Stopping Point: The elevation at which the water stops dropping is the elevation where the leak is located.
If the Water Keeps Dropping: The Stream/Waterfall Isolation
If the water loss only stops when the water level is far below the stream intake, the leak is likely somewhere in the stream or waterfall.
To pinpoint the stream location, you’ll need a long pipe or hose:
- Isolate the Stream: Set a pump in your pond and run a hose up to the first waterfall/section of the stream. Run the pump to fill only that section.
- Test Section by Section: Mark the water level and run the pump for 24 hours. Measure the water loss.
- Repeat: Move the hose up to the next upper level (waterfall) and repeat the process until you’ve gone through the entire stream.
- Compare Results: If you find a section where the water level drops significantly, you have located the leak.
Solution Note: For very small streams (5 feet or less), it is often most cost-effective to simply redo the entire stream, as the labor cost of finding multiple small tears can equal the cost of a full, small section rebuild.
If No Water Loss is Found (The Plumbing)
If you follow all these steps and the water loss persists even when the pond system is off, the issue is likely in your plumbing line.
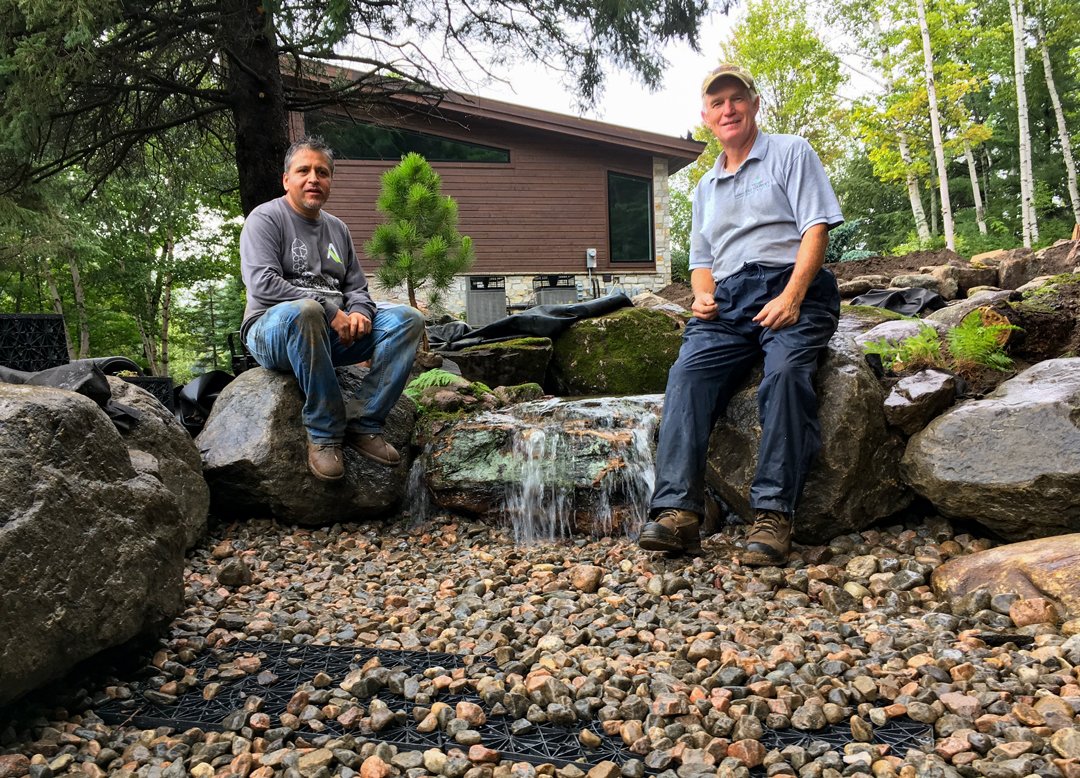
Final Step: When to Call the Pros? (And Why It Saves You Money)
We haven’t found an easier approach for homeowners than the step-by-step isolation method above. However, if you complete all of the checks and the leak remains a mystery, it’s time to bring in professional expertise.
While DIY leak detection saves you the initial cost of a professional call, the cost of an inaccurate DIY diagnosis, prolonged water loss, or unnecessary excavation can quickly outweigh the initial savings.
We utilize experience, methodical testing, and technology:
- Infrared and Electrical Technology: We employ advanced tools, including infrared cameras and specialized Electrical Leak Location (ELL) technology. ELL is a highly targeted technique that uses an electrical current to locate pinhole breaches in a liner, even when it is buried under rock and gravel.
- The Pricewise Choice: This sophisticated equipment can be an upfront investment, but it is often the most cost-efficient solution for a complex or hidden leak. Instead of spending days removing and replacing hundreds of pounds of rock and gravel based on a guess, ELL allows us to pinpoint the exact location (sometimes down to the square inch) to ensure a minimal, surgical repair.
Don’t panic! If your pond is still leaking after you’ve completed your detective work, schedule a consultation. We can assess your situation and determine the most strategic, cost-effective path to a watertight pond.
So here are the answer to give to our clients
Q: My pond is losing water—what should I do first?
A: Stay calm and take immediate steps to protect your fish. Turn off your waterfall or stream pump to stop further loss. Then, make sure your fish have enough oxygen by adding an aerator or temporarily using your existing pump to circulate and aerate the pond water.
Q: How can I tell if my pond is leaking or just evaporating?
A: The easiest way to confirm is with the bucket test and make sure to turn off your waterfall or any pump running.
-
Place a bucket inside the pond and fill it until it matches the water in the pond.
-
Mark the water level inside the bucket.
-
After 24 hours, compare the two.
If the water level inside the pond drops more than the bucket, you have a leak. If both drop the same, it’s evaporation.
Q: What are the most common causes of pond water loss?
A: Based on our experience, the main culprits are:
-
Low edges where the liner has settled, allowing water to escape.
-
Clogged edges caused by debris or plant matter diverting water over the liner.
-
Failed seals on the skimmer or biofalls faceplate.
-
Small punctures or tears in the liner.
-
Animal activity (such as moles or voles) burrowing beneath the liner.
Q: What if my pond was built with concrete over the liner?
A: That’s a tougher situation. Concrete applied over the liner traps potential leaks beneath it, making repairs more complex. In many cases, the section must be rebuilt to find and fix the breach.
Q: How do I locate where the leak is coming from?
A: Start with visual and manual checks:
-
Inspect the stream and pond edges for low spots.
-
Use a soil probe along the plumbing and around the biofalls—saturated soil often reveals the leak’s location.
If the source isn’t clear, move on to the water drop test:
-
Mark the current water level.
-
Wait 24 hours and mark again.
-
Note when the water level stops dropping—that’s the elevation where your leak is located.
Q: What if the water keeps dropping even when the system is off?
A: If your pond continues losing water when the pump is off, the issue is likely in the pond itsef, the plumbing or return lines. This often requires professional testing to pinpoint accurately.
Q: Can I isolate the leak in the stream or waterfall?
A: Yes. Using a small pump and hose, you can fill one section of the stream at a time and measure water loss over 24 hours. When you find the section losing water faster, that’s where the problem lies. For smaller streams (under 5 feet), it’s often more cost-effective to rebuild that section entirely.
Q: When should I call a professional?
A: If you’ve followed all the steps and still can’t locate the source—or if the issue involves buried plumbing, concrete work, or continuous water loss—call a professional. At Aquascape Creations, we use advanced tools like infrared cameras and Electrical Leak Location (ELL) technology to find leaks with precision, often without disturbing your rock or liner setup.
Q: How does professional leak detection save money?
A: Guesswork can lead to unnecessary excavation, material waste, and extended downtime. Our equipment and experience allow for surgical precision—pinpointing leaks down to the inch. That means less disruption, faster fixes, and lower overall repair costs.
Q: My pond is still leaking—what’s the next step?
A: Contact us to schedule a consultation. We’ll evaluate your setup, diagnose the problem, and develop a targeted repair plan to restore a watertight pond and peace of mind.