How to Find and Fix a Pond Leak in the Bay Area
A leaking pond can be a frustrating and costly issue for any homeowner in the Bay Area. Whether it’s a koi pond, pondless waterfall, or custom water feature, identifying the source of water loss is essential to preserving your investment and keeping your landscape thriving.
At Aquascape Creations, we specialize in pond leak detection and repair throughout the Bay Area. Below, we’ve outlined a simple, systematic approach to help you identify where your pond might be leaking—and when it’s time to call in the professionals.
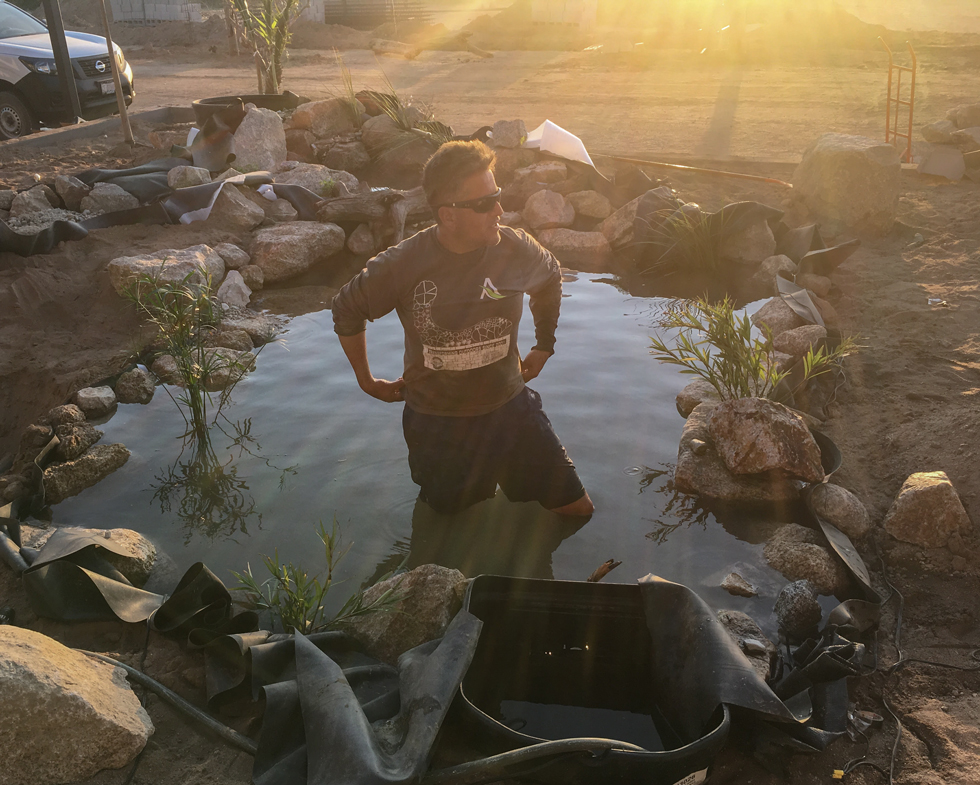
Step 1: Start with a Visual Pond Inspection
Before breaking out any tools, start with a basic walkaround:
-
Inspect the edges: Look for damp soil, muddy spots, or puddling just outside the pond liner.
-
Feel for soft spots: These can indicate underground saturation, a sign of water escaping your pond.
-
Check your waterfall: 80% of pond leaks happen in the waterfall. Debris or shifted rocks can redirect water over the liner.
-
Use an infrared camera (if available): Cool soil can reveal leak locations. We sometimes use this during Bay Area pond inspections.
If you find nothing obvious, move on to testing.
Step 2: Perform a Static Water Loss Test
This test helps isolate whether your pond leak is in the basin or the plumbing.
-
Turn off all pumps and mark the current water level.
-
Provide aeration for fish with an air pump while the main pump is off.
-
Wait 24 hours and check the drop:
-
1/8”–1/4″ per day is normal evaporation in Bay Area weather.
-
Anything more likely indicates a leak.
-
-
Bucket test: Fill a bucket with pond water and compare its loss to the pond. If the pond loses significantly more, you likely have a leak.
If water stabilizes, the final water level often points to the leak’s elevation.
Step 3: Localize the Pond Leak
When the water level stabilizes, investigate that zone.
-
Leaks in the top 12 inches: Flood the edge to see if muddy areas appear. This trick works best for exposed EPDM rubber liners.
-
Deeper leaks (2–3 feet): Consider a full pond rebuild. In many Bay Area pond repairs, this ends up being more cost-effective than hunting for deep liner breaches.
Understanding “Wicking”
Not all water loss is a true leak. Sometimes rocks or mulch wick water up and out of the pond.
Check:
-
Where the liner meets rock or soil.
-
If mulch or decorative gravel is making direct contact with the water.
-
Perpetually damp rocks above the normal waterline.
Adjusting those areas may solve the issue without needing full pond repairs.
Step 4: Check the Waterfall or Stream
If the pond holds water but loses it when the waterfall is running, the leak may be in the stream.
Here’s how we test:
-
Bypass the pump using a temporary line or sump pump.
-
Fill the waterfall or stream to its normal level.
-
Monitor water levels every 24 hours.
-
Gradually lower the water feed pipe to isolate the leak zone.
-
For small waterfalls, a rebuild might be quicker.
-
For larger features, we narrow down the problem section by section.
Step 5: Investigate Pond Plumbing Leaks
If your pond and waterfall hold water independently, the leak is likely in the plumbing line.
Most common problem areas:
-
Under the biofalls where plumbing connects.
-
Where the pipe exits the skimmer.
If buried lines are suspected, we often recommend replacing the plumbing rather than digging up the whole yard—a more cost-effective solution for Bay Area homeowners.
Common Leak Sources in Bay Area Ponds
We’ve repaired hundreds of leaking ponds throughout the region. Some frequent causes include:
-
Skimmer faceplate failures: Loose screws, corroded fasteners, or root intrusion can break the seal.
-
Tree roots: Over time, they can pierce pond liners.
-
Animal damage: Raccoons and rodents may claw at liner edges.
-
Old liners: EPDM rubber liners last 20–30 years, but UV damage or shifting rocks can reduce their life.
Know Your Liner Type
Your pond liner affects the likelihood and repairability of leaks:
-
EPDM Rubber: Most common and long-lasting. Easy to repair.
-
PVC: Prone to cracking over time. Less UV resistant.
-
RPE (Reinforced Polyethylene): Strong, lightweight, and used in many modern water features.
When to Call a Bay Area Pond Leak Specialist
Some leaks are DIY-fixable. Others need trained eyes and equipment. If you’ve followed the steps above and still can’t find or fix the leak, let our team help.
We offer expert pond leak detection and repair services in San Francisco, San Ramon, Walnut Creek, Pleasanton, Livermore, and throughout the Bay Area.
Don’t Let a Leak Drain Your Joy—or Your Water Bill.
Contact Aquascape Creations today at 925-222-5052 or visit aquascapecreations.com to schedule your pond leak inspection. We’ll help you fall in love with your water feature all over again.